
Console Getting Started Guide
Create your Qwist Console account and set up Sandbox, Staging and Production applications to start integrating with the Qwist Open Finance APIs.
This guide walks you through creating your Qwist Console account and setting up Sandbox, Staging and Production credentials so you can start integrating with the Qwist Open Finance APIs.
What you will achieve
- Create and verify your Qwist Console account.
- Log in to the Console and locate your Sandbox application.
- Create a Staging application for end-to-end testing.
- Create a Production application for go-live.
| Resource | Link |
|---|---|
| Console | console.qwist.cloud |
| API documentation | docs.qwist.com |
Overview
Qwist Console is the self-service platform where you manage everything you need to integrate with Qwist: API credentials, applications, institution coverage, documentation and a demo app to try our products end-to-end.
The journey is split into two short parts:
- Create your account (Steps 1 to 6): sign up, confirm your email and log in.
- Create your credentials (Steps 7 to 14): use your pre-provisioned Sandbox and add Staging and Production applications.
Tip: You can complete Part 1 in about two minutes. Part 2 takes a few minutes more. The Staging and Production applications you create will be reviewed by our team.
Part 1 · Create your account
Step 1 · Open the sign-up page
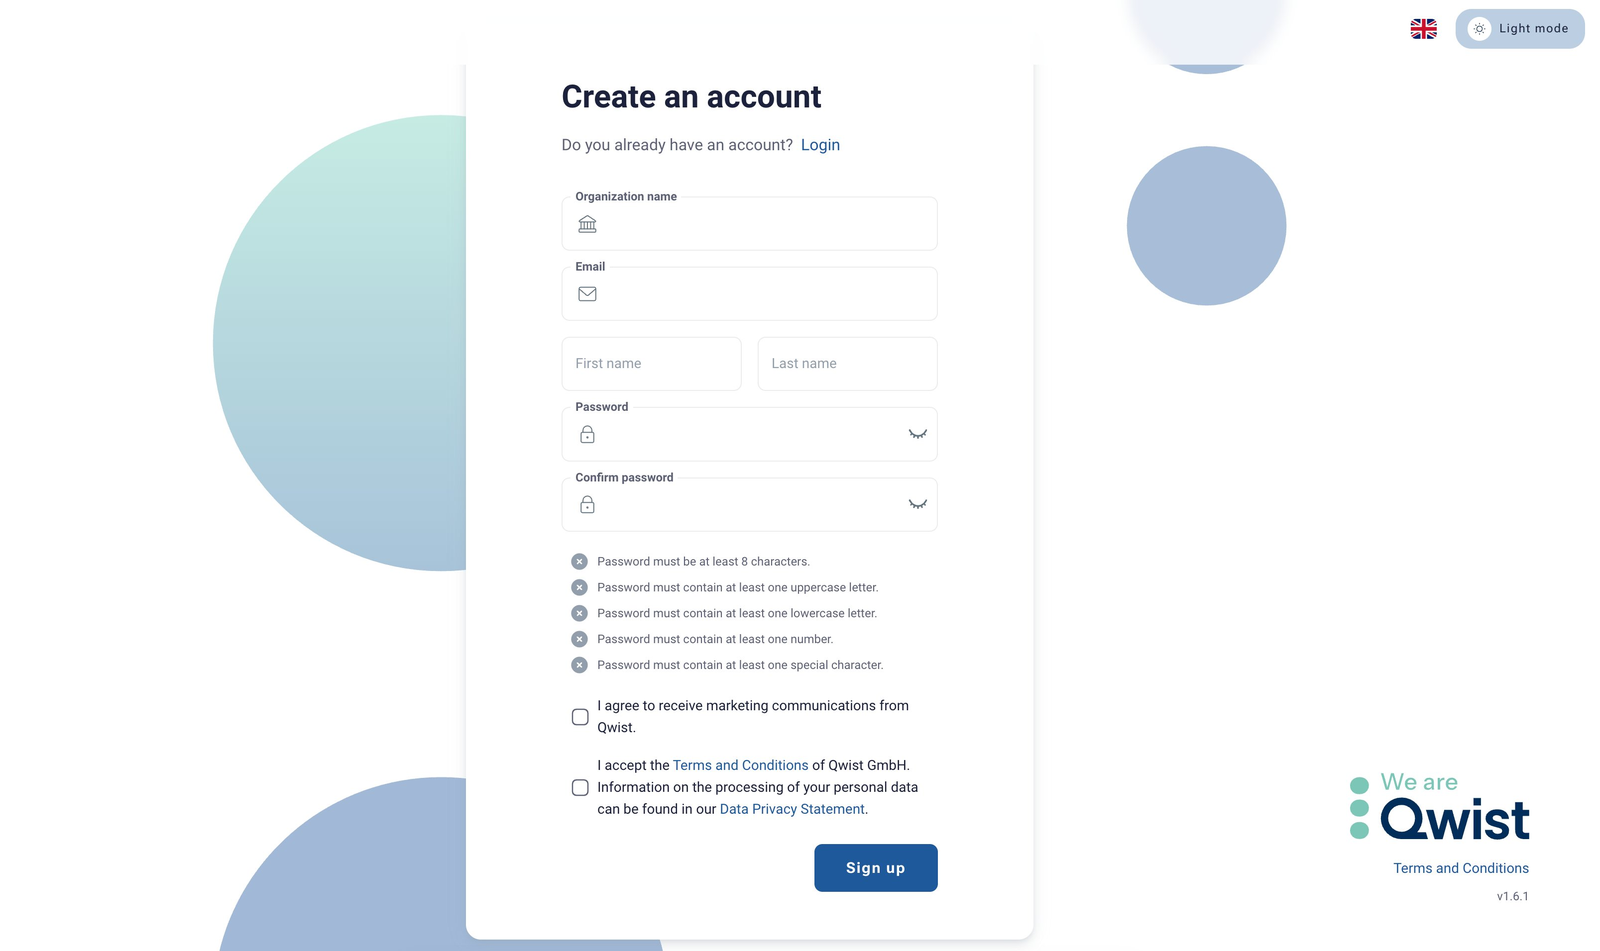
Go to console.qwist.cloud and select Sign up. You will be presented with the Create an account form.
Step 2 · Fill in your details
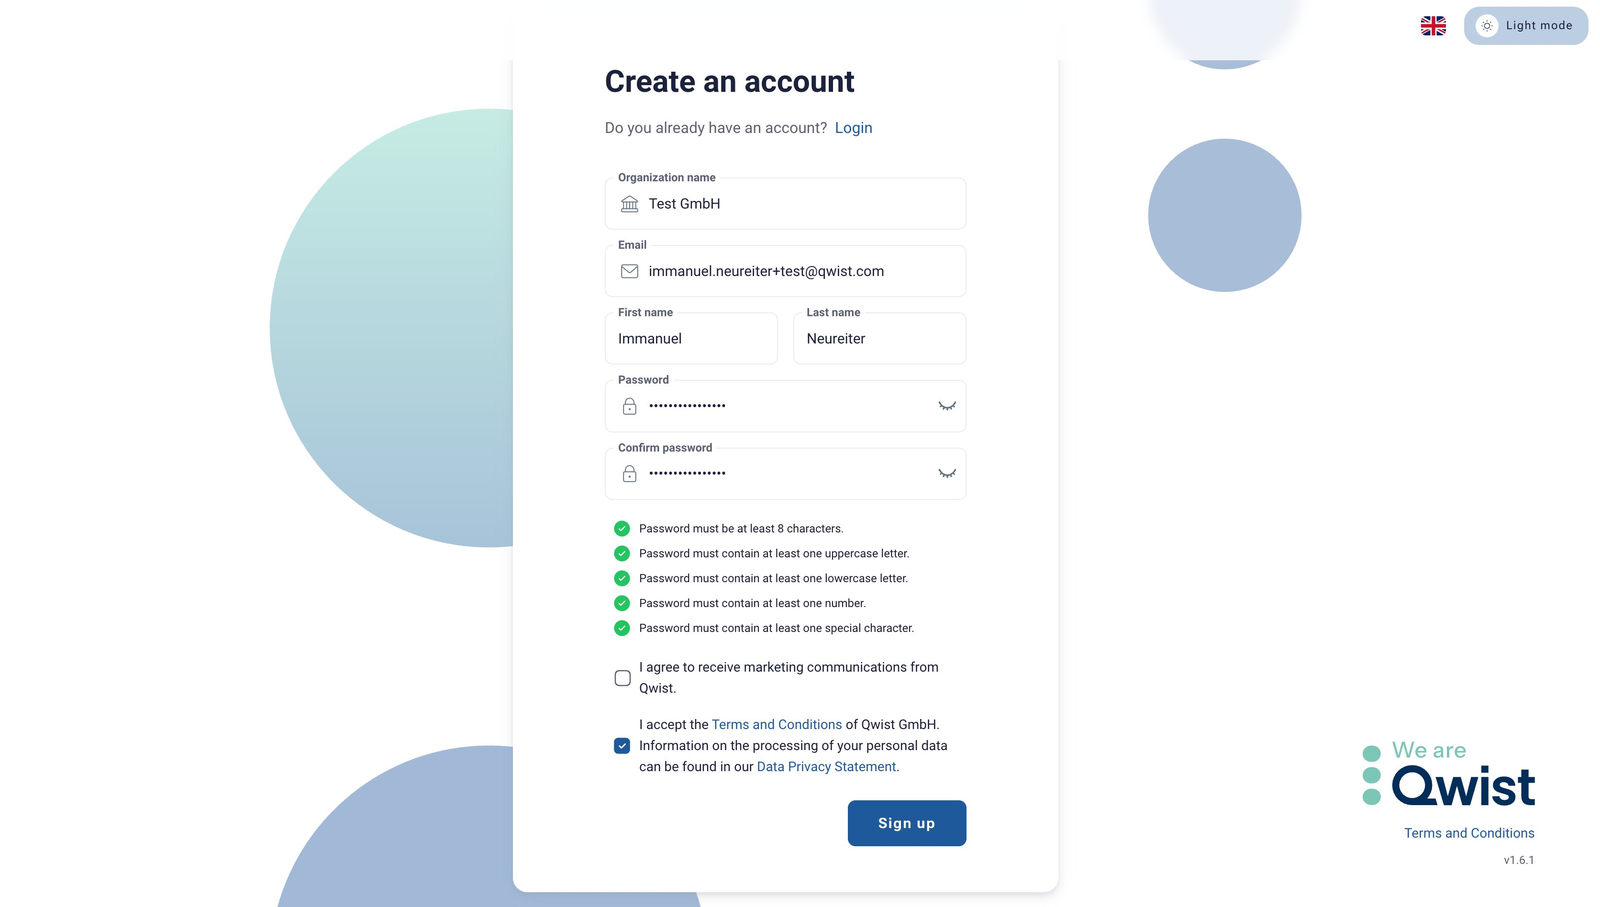
Complete every field in the form:
| Field | What to enter |
|---|---|
| Organization name | Your legal company name (e.g. Test GmbH) |
| A business email you can access. This is also your login. | |
| First name and Last name | The primary contact for this account |
| Password | At least 8 characters, including an uppercase letter, a lowercase letter, a number and a special character |
Account OwnershipThe person who signs in first with their email address becomes the account owner. Once logged in, the owner can invite users from their organisation, assign roles and transfer ownership to another user.
Note: The five password checks turn green as your password meets them.
Accept the Terms and Conditions, optionally opt in to marketing communications, and click Sign up.
Step 3 · Check your inbox
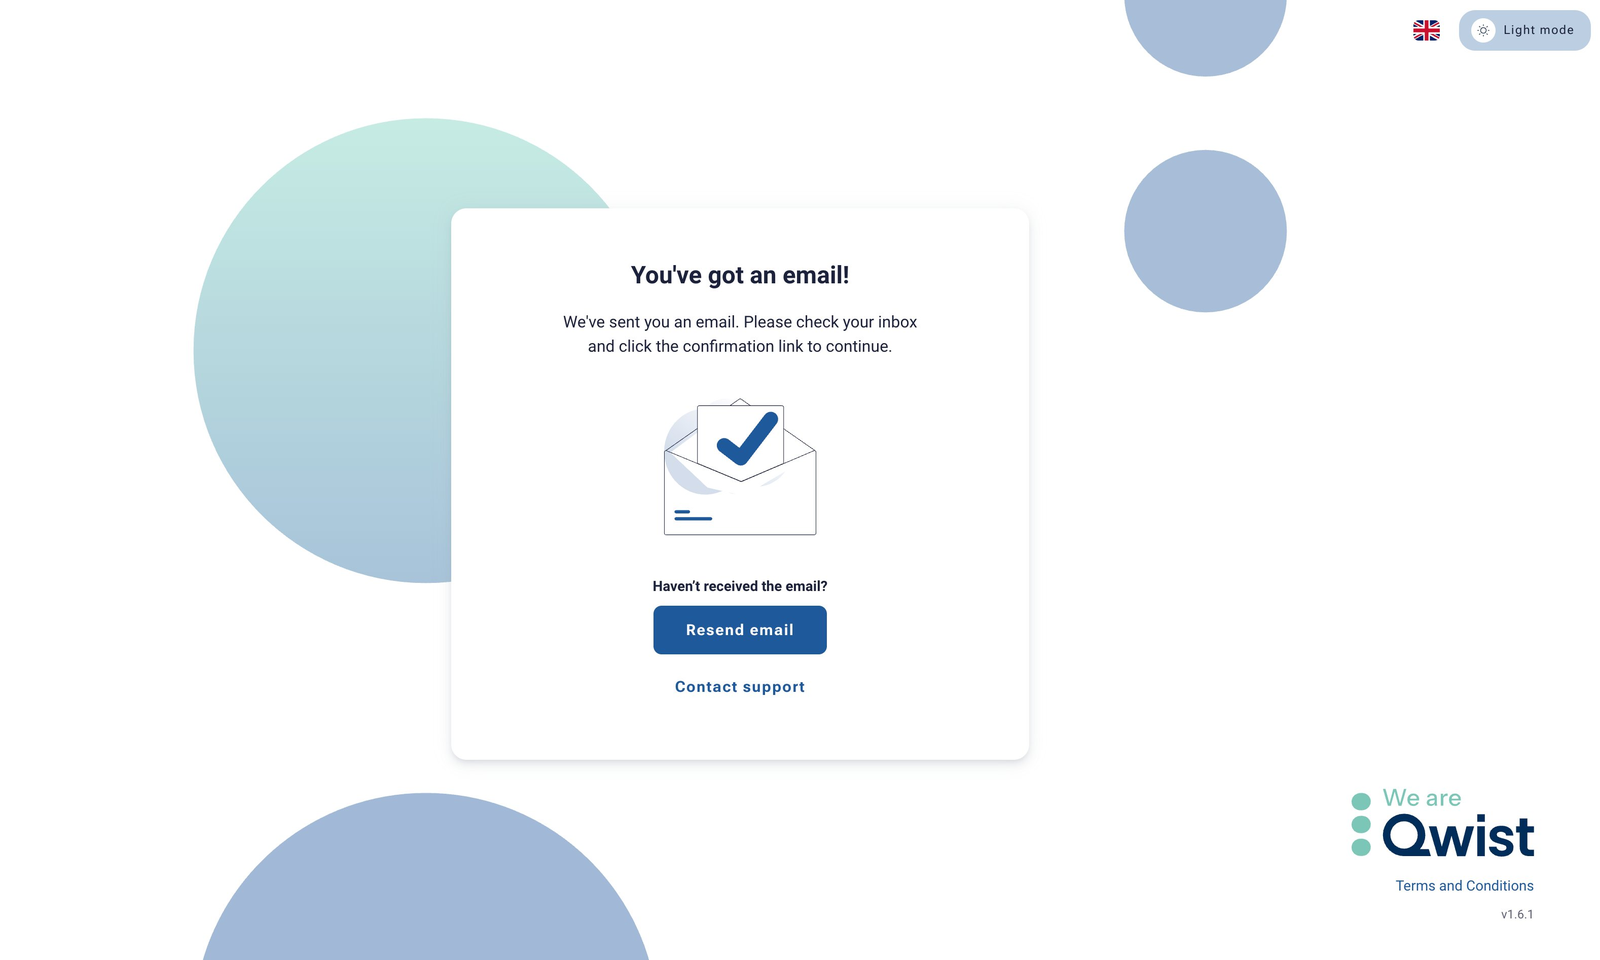
After signing up, the Console confirms that a verification email is on its way. If it does not arrive within a couple of minutes, check your spam folder or click Resend email.
Step 4 · Verify your email
Open the email from [email protected] titled "Welcome to Qwist!" and click Verify Email. If the button does not work in your mail client, copy the link below it into your browser.
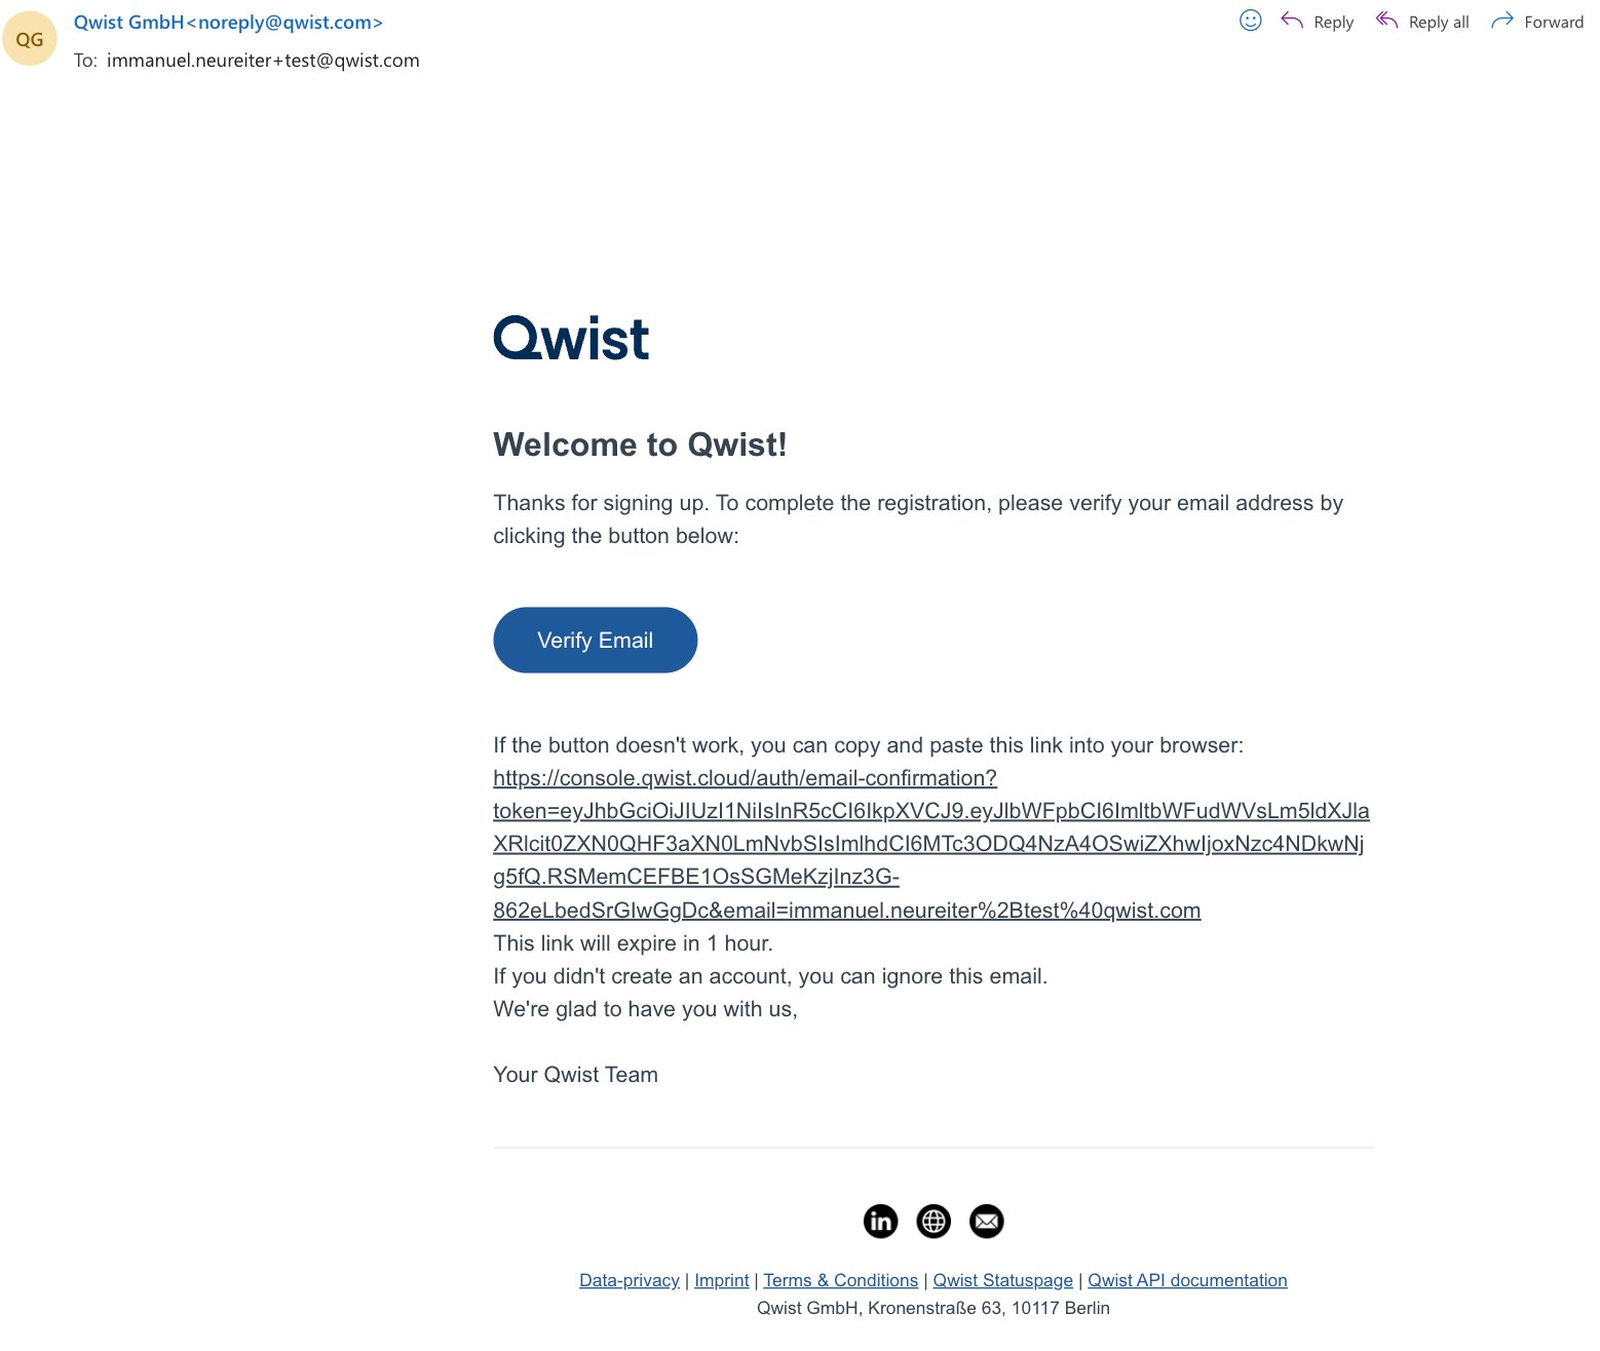
Note: The verification link is valid for one hour. If it expires, sign in to the Console and request a new verification email.
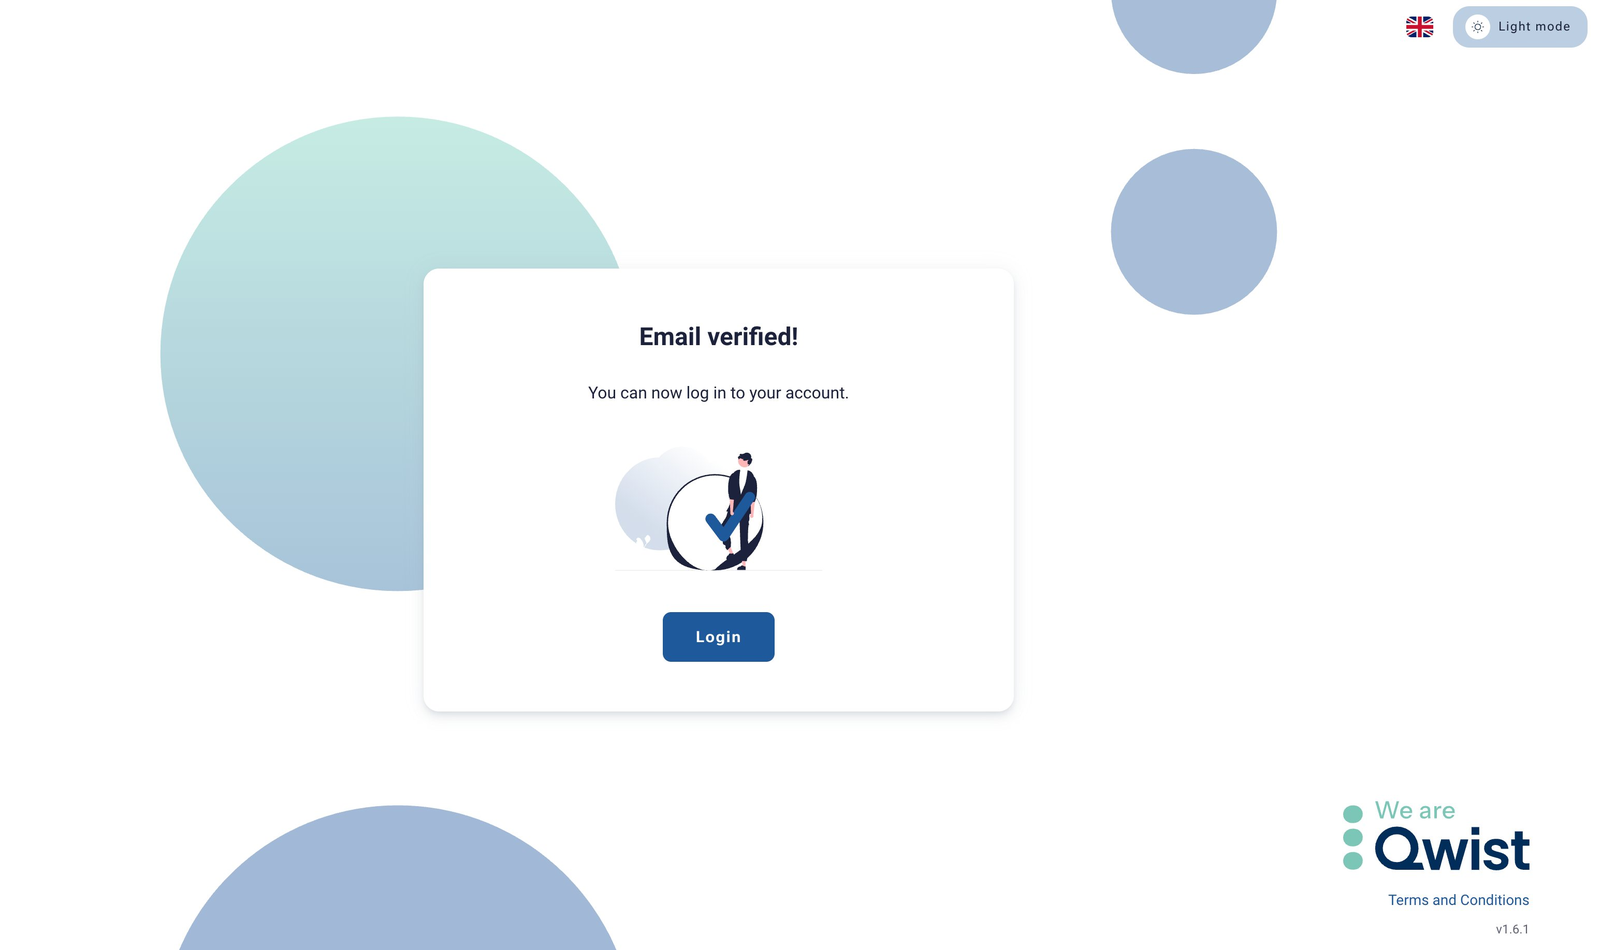
Step 5 · Email verified
Once verification succeeds, you will see the confirmation screen below. Click Login to continue to the Console.
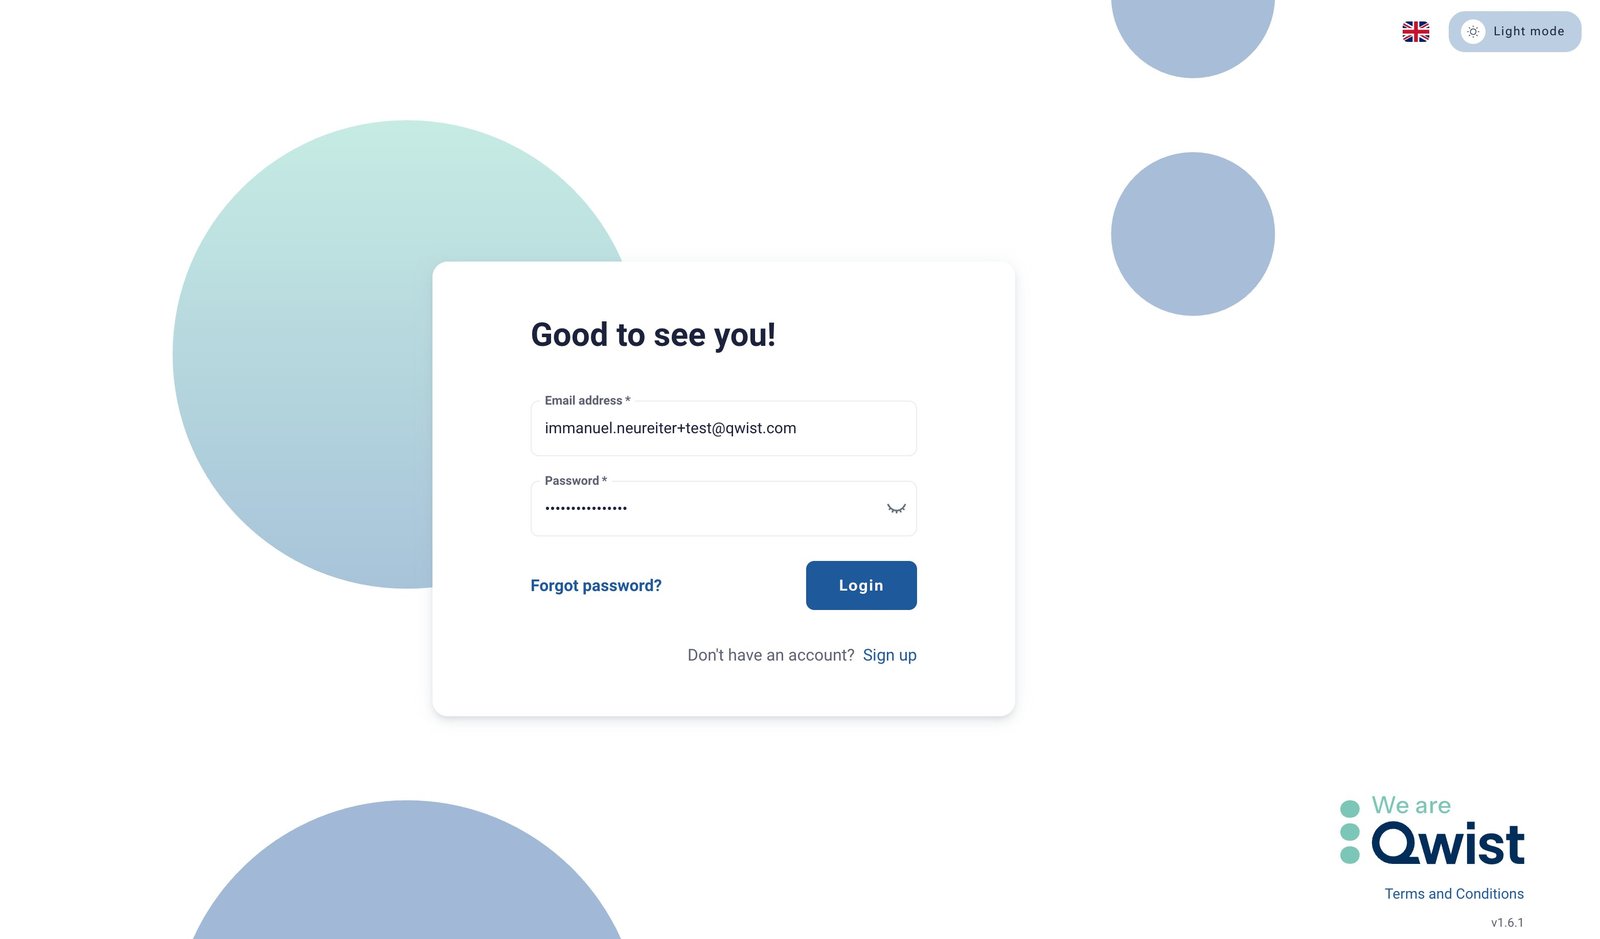
Step 6 · Log in
Enter the email and password you registered with and click Login. You will land on the Qwist Console dashboard.
Part 2 · Create your credentials
Every organisation starts with a Sandbox application that is ready to use immediately. To move towards go-live you will add a Staging application (for integration testing against real bank infrastructure) and a Production application (for live traffic).
| Application | Purpose | Status after creation |
|---|---|---|
| Sandbox | Explore the API with mock banks | Live (pre-provisioned) |
| Staging | Integration testing against real bank infrastructure | Pending review |
| Production | Live traffic | Pending review |
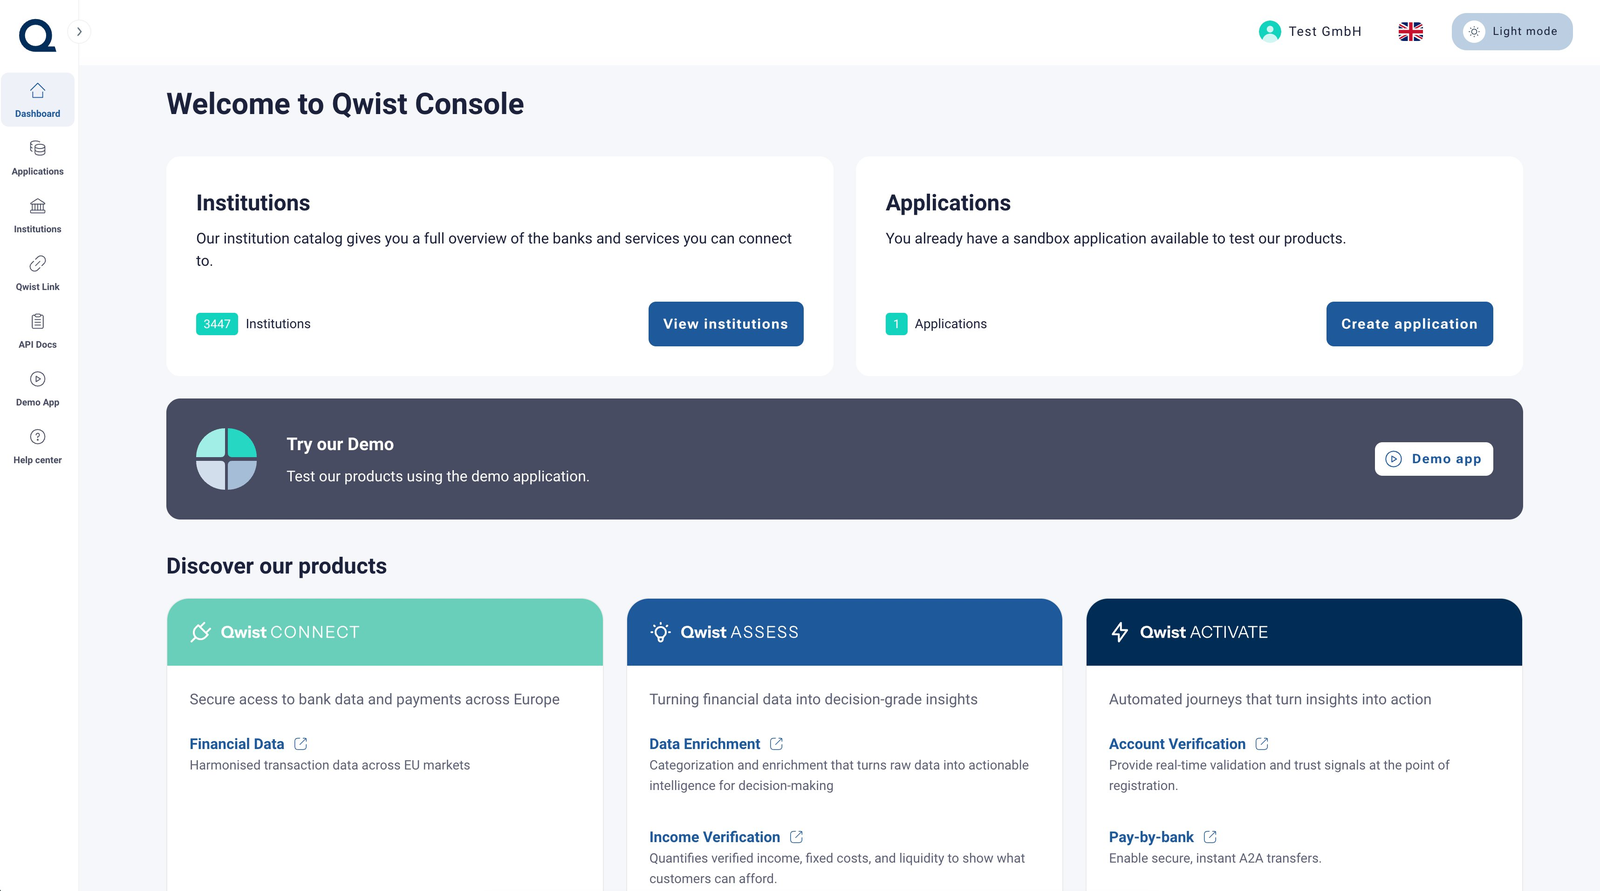
Step 7 · Welcome to Qwist Console
Your dashboard summarises your tenant. From here you can browse our Institutions catalogue, create applications, try the Demo app, and explore Qwist Connect, Assess and Activate products.
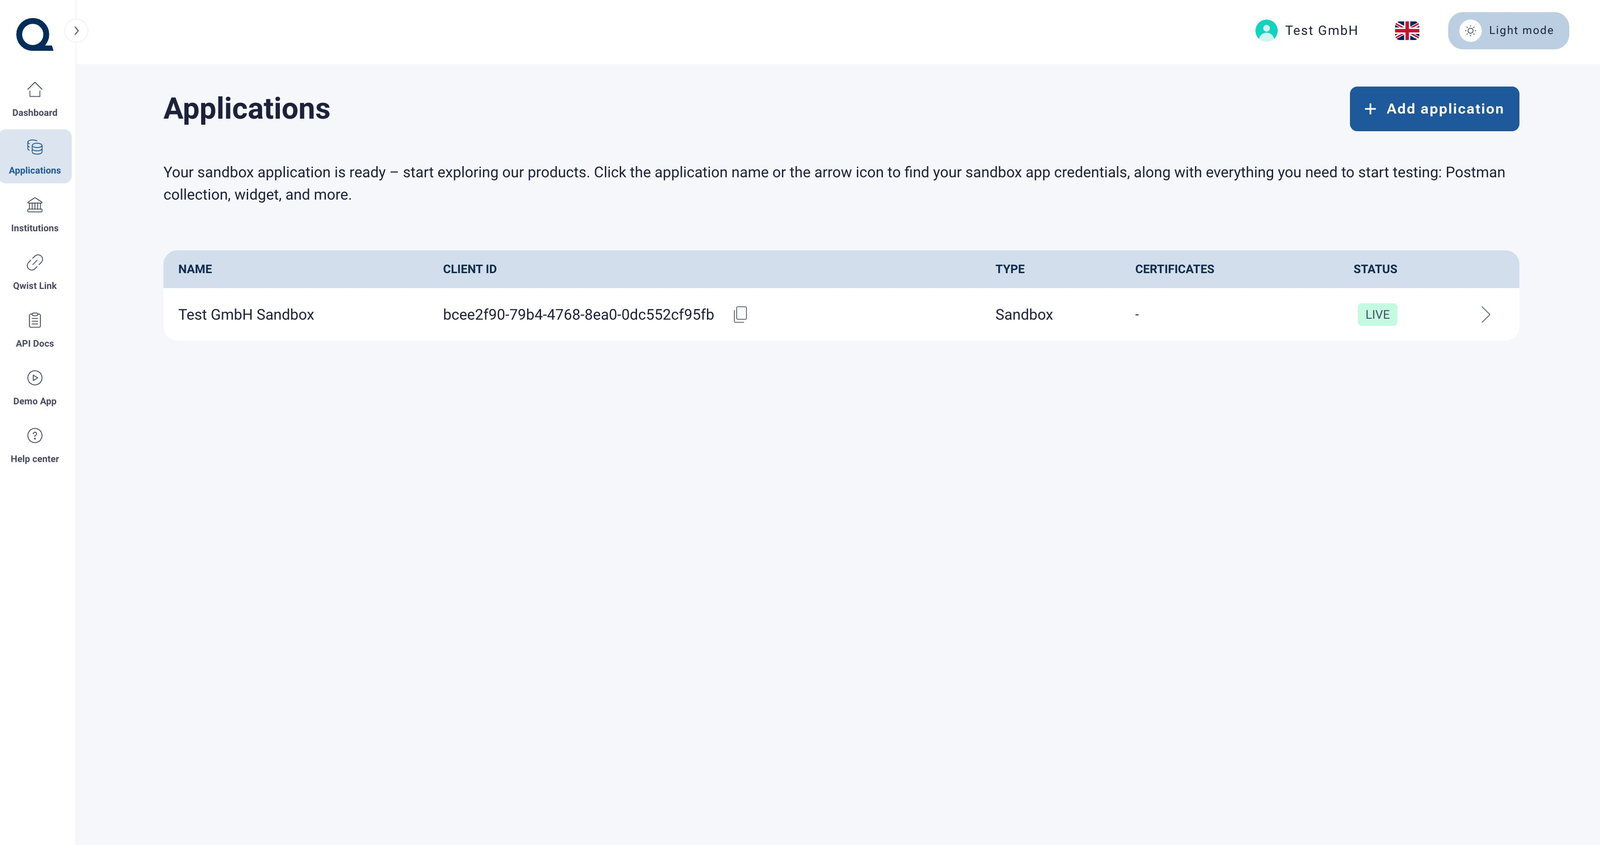
Step 8 · Open the Applications page
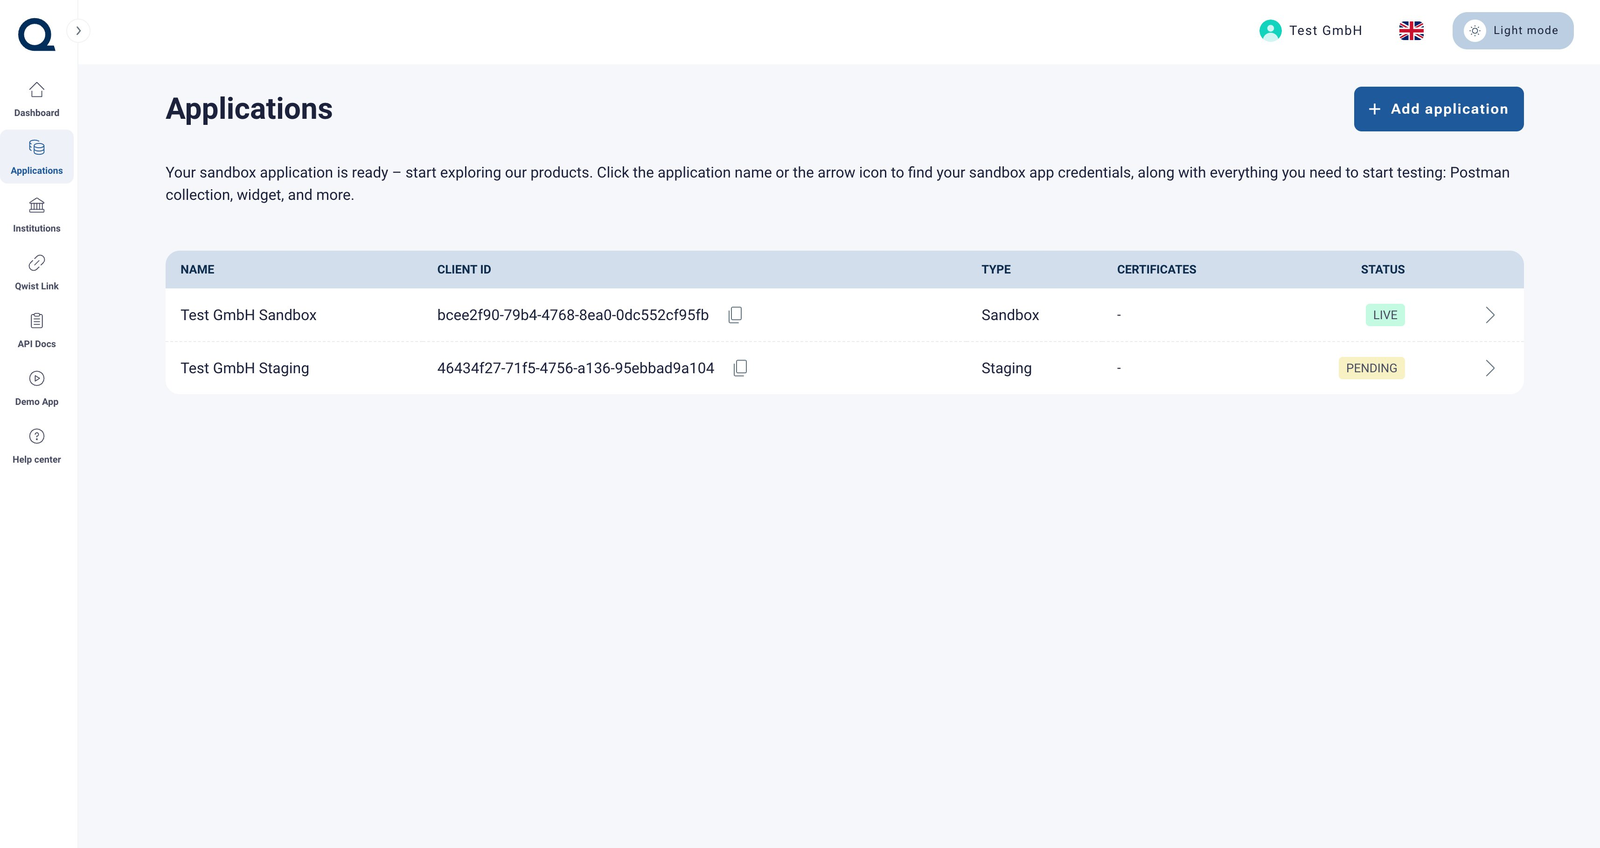
From the left-hand navigation, select Applications. You will see your pre-provisioned Sandbox application, which is Live by default. Click the row (or the arrow on the right) to view its credentials, Postman collection, widget and other testing assets.
Tip: The Sandbox application is ready to use, no approval required. Use it to explore the API, run our Postman collection and integrate the Qwist Link widget in a test environment.
Naming your Staging and Production applicationsWhen you create your Staging and Production applications, name each one using your legal entity name or brand name:
- Staging:
<Legal entity name>, for example Test GmbH- Production:
<Legal entity name>, for example Test GmbHUse the same legal entity name you entered when signing up (Step 2), exactly as it appears in your company register. This lets the Qwist team match your applications to your contract and speeds up review and activation.
Step 9 · Add a Staging application
Click Add application in the top-right corner. In the dialog:
- enter a descriptive name (for example, Test GmbH)
- select Staging as the Type,
- leave Certificates set to Qwist Certificates unless you have agreed otherwise.
Click Create.
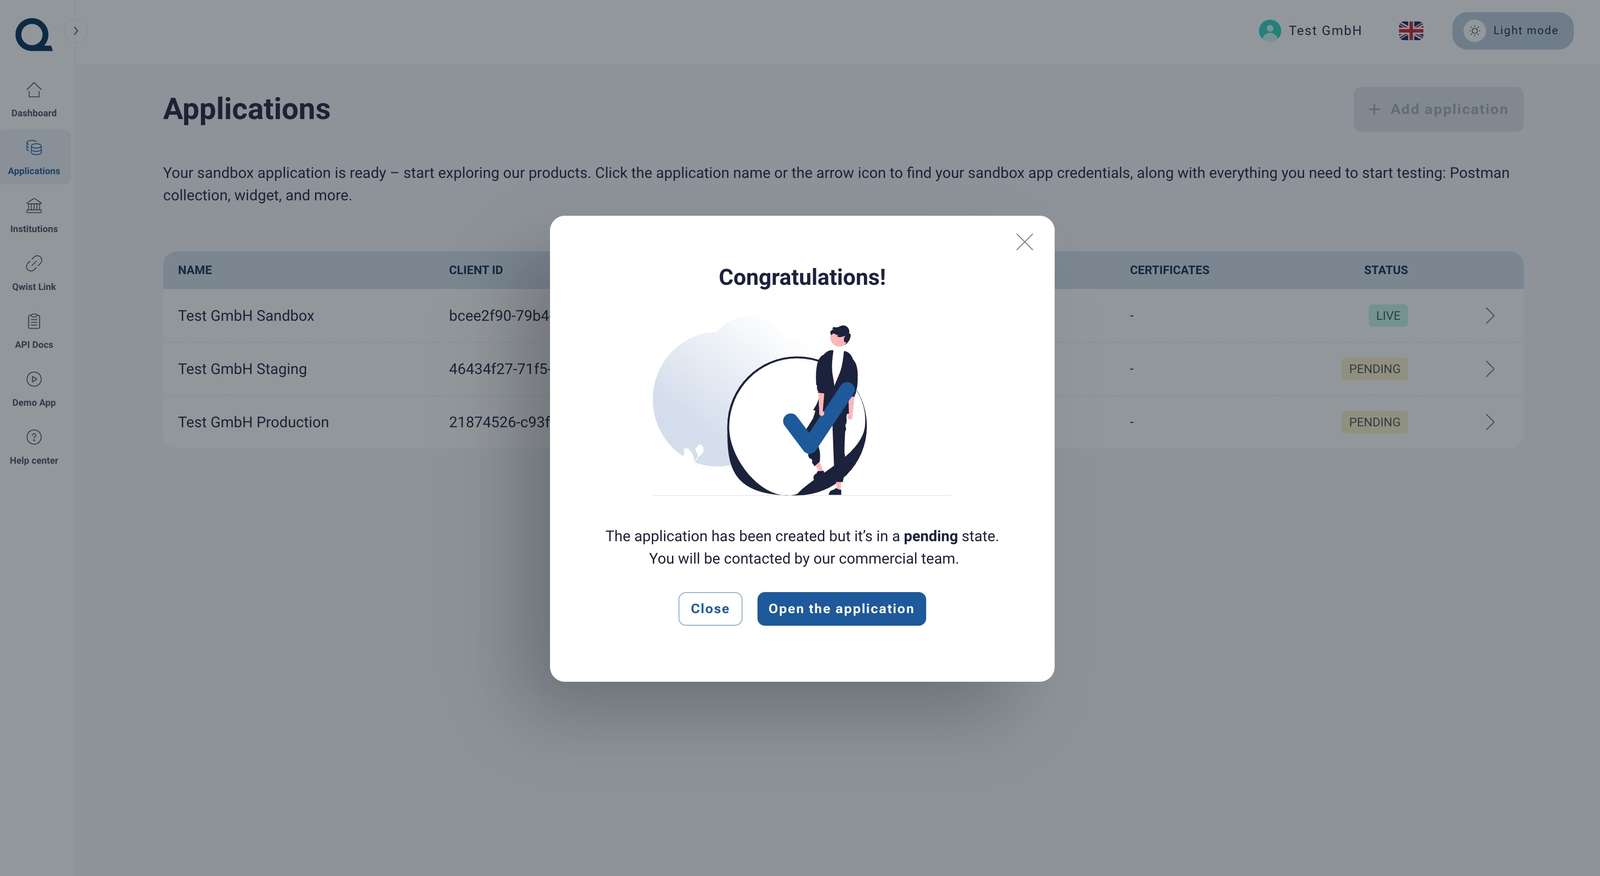
Step 10 · Staging created, pending review
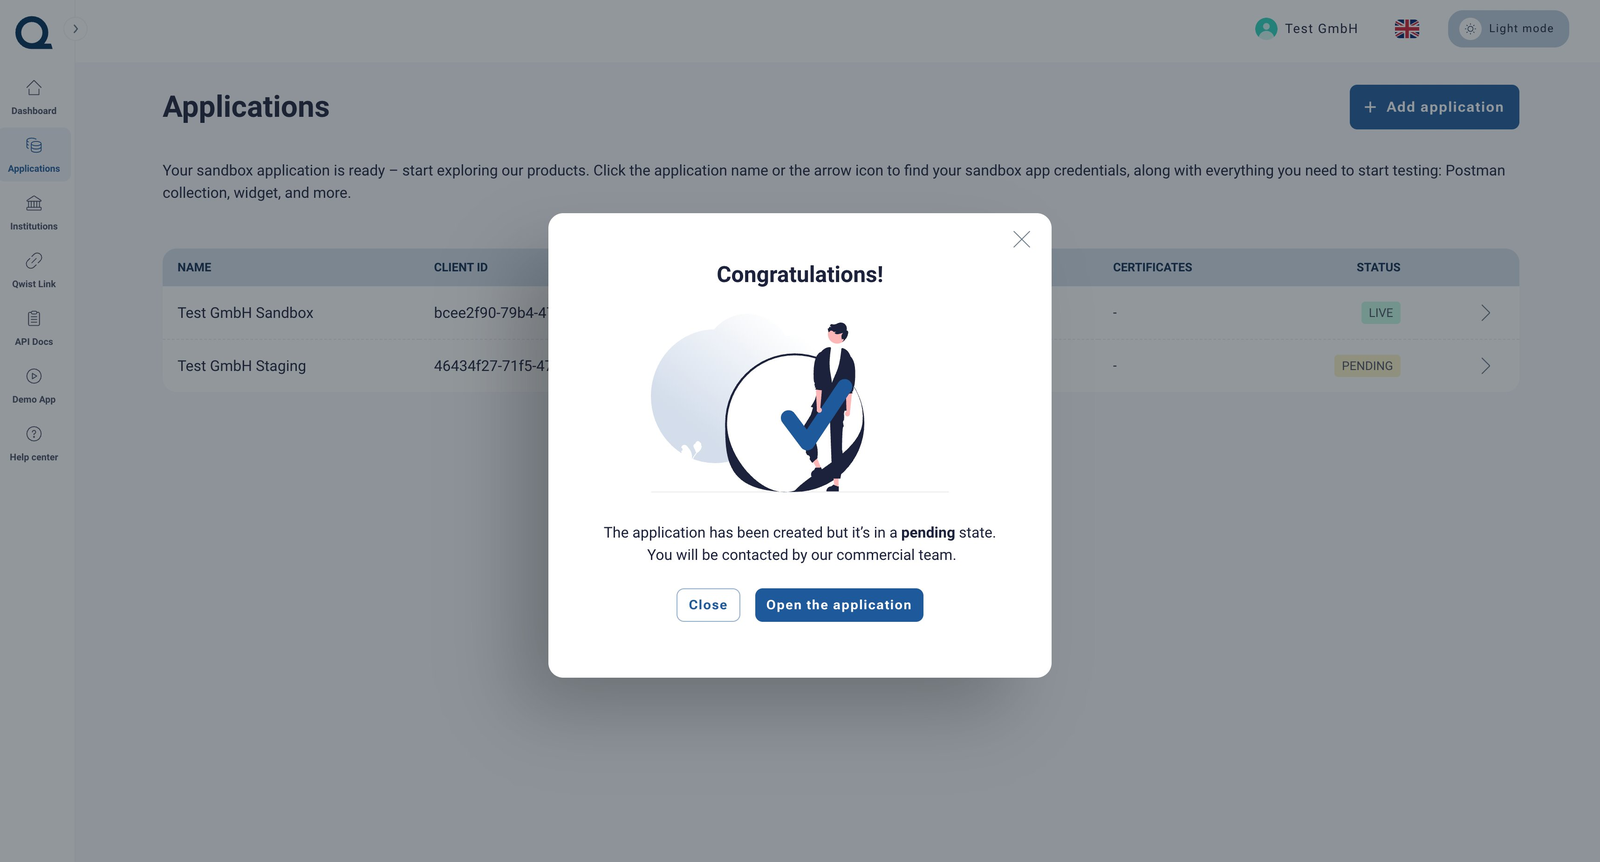
A confirmation dialog lets you know the Staging application has been created in a pending state. A member of our team will get in touch to complete onboarding and activate the application. You can close the dialog or click Open the application to review its details.
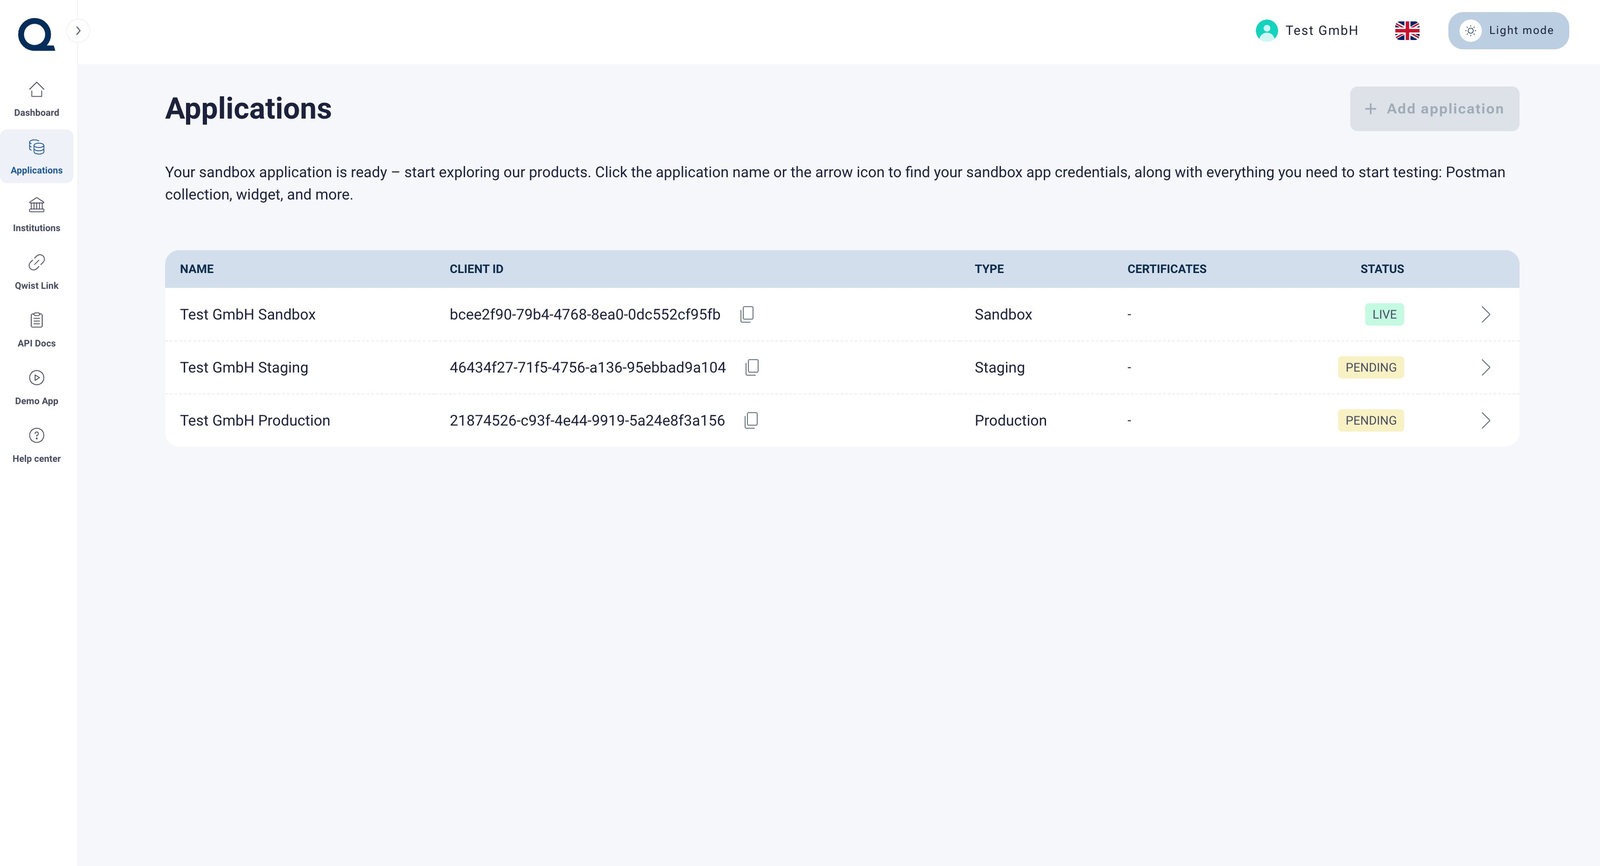
Step 11 · Staging visible in the Applications list
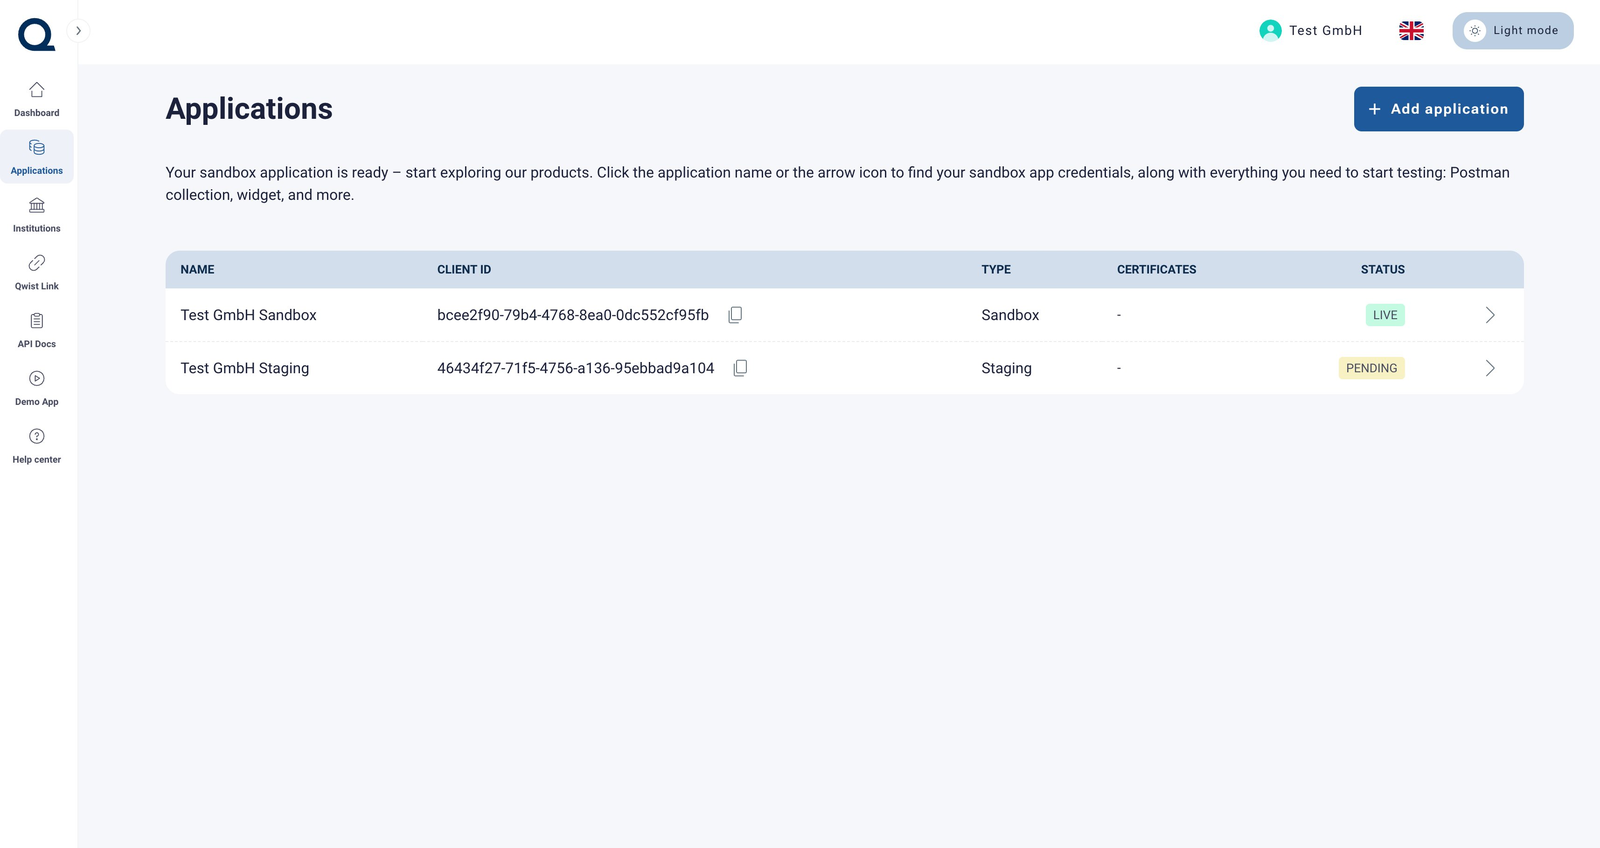
Back on the Applications page, your Staging application now appears alongside Sandbox. Its status is Pending until our team activates it. You can copy the Client ID at any time with the copy icon next to it.
Step 12 · Add a Production application
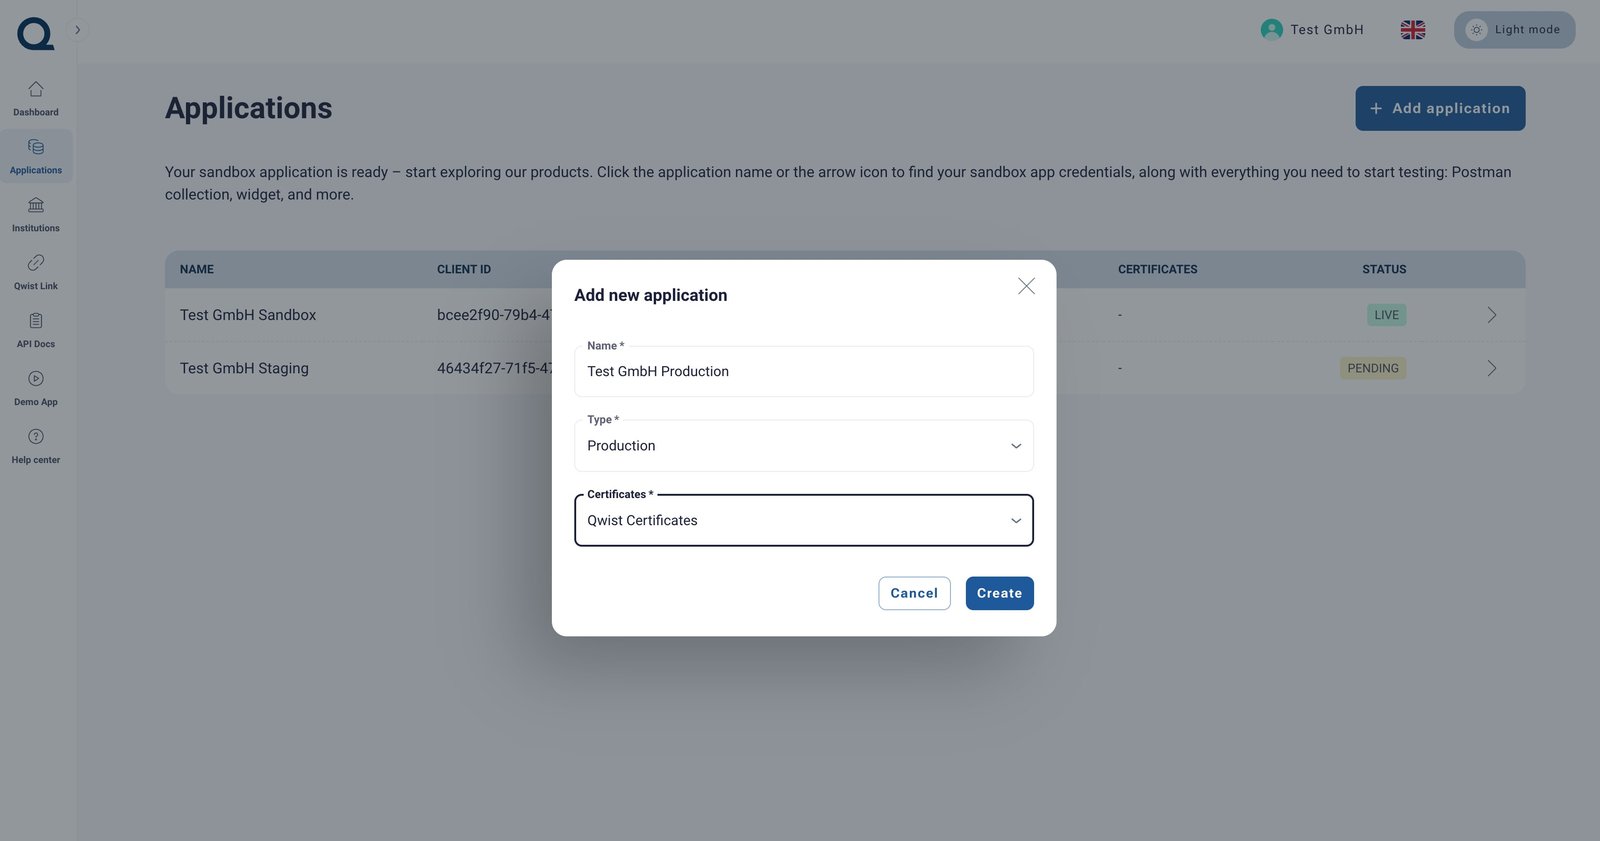
Repeat the process for Production. Click Add application, name it (for example, Test GmbH), select Production as the Type, choose your certificates and click Create.
Note: Production applications require contractual sign-off and verification before they go live. Your Qwist account manager will guide you through any outstanding steps.
Step 13 · Production created, pending review
As with Staging, the Production application is created in a pending state. You will be notified once the application is activated by Qwist.
Step 14 · All three environments in one place
Your Applications page now shows the full set of credentials you need to move from exploration to go-live: Sandbox (Live), Staging (Pending) and Production (Pending). Click any row to retrieve its Client ID, secrets and integration assets.
Next steps
- Explore the APIs: open API Docs from the left navigation, or visit docs.qwist.com.
- Try the Demo app: from the dashboard, launch the Demo app to experience Qwist Connect, Assess and Activate end-to-end.
- Test with Postman: open your Sandbox application and download the Postman collection to start calling the finX API immediately.
Need help?
If you get stuck at any point, our team is here to help.
- Help Center: open the Help center from the left navigation inside the Console.
- Your Solutions Consultant: for technical questions or activation of your Staging and Production applications, please contact your Qwist Solutions Consultant.
Updated about 15 hours ago